Connection
Last updated
Was this helpful?
Last updated
Was this helpful?
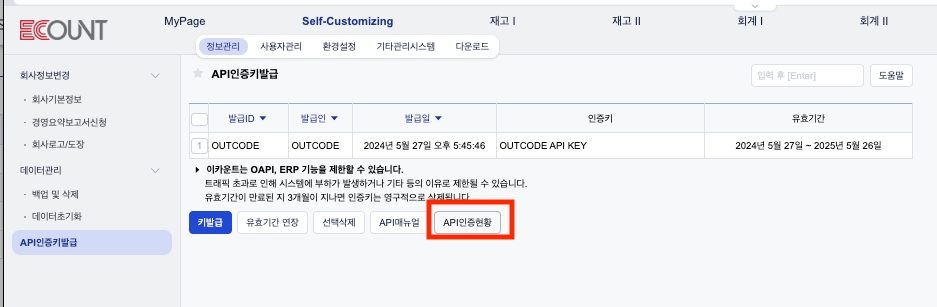
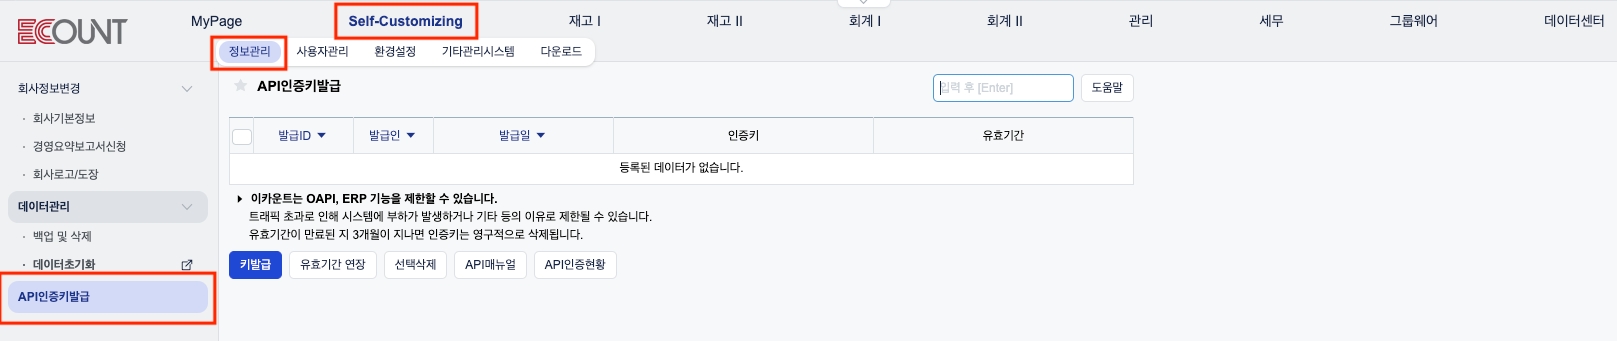
In ECount ERP, go to Self-Customizing > Information Management > Issue API Authentication Key, then click the API Authentication Status button.
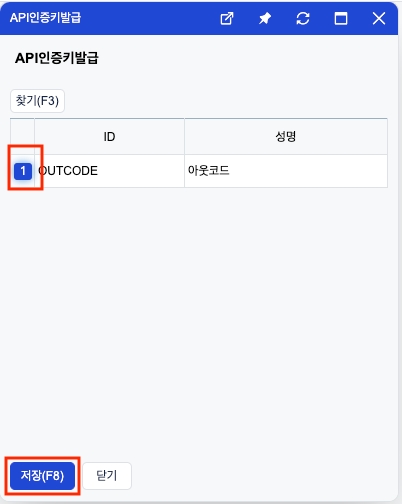
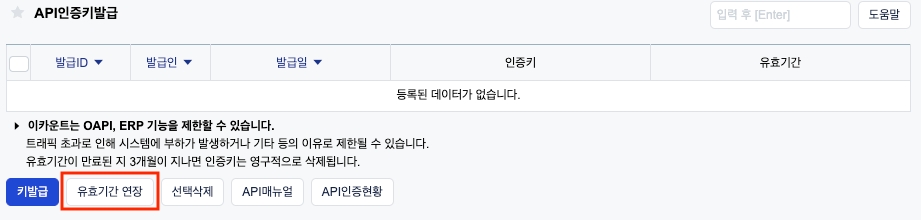
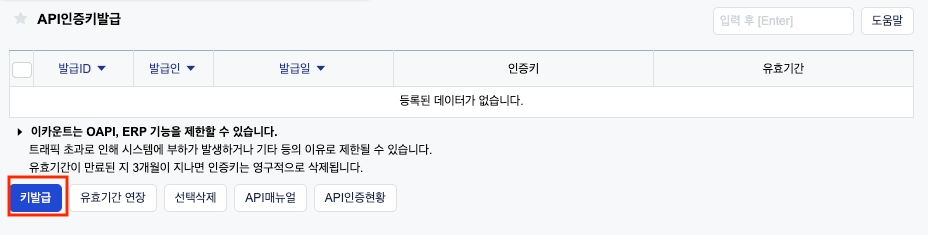
Click the Issue Key button at the bottom left of the popup window.
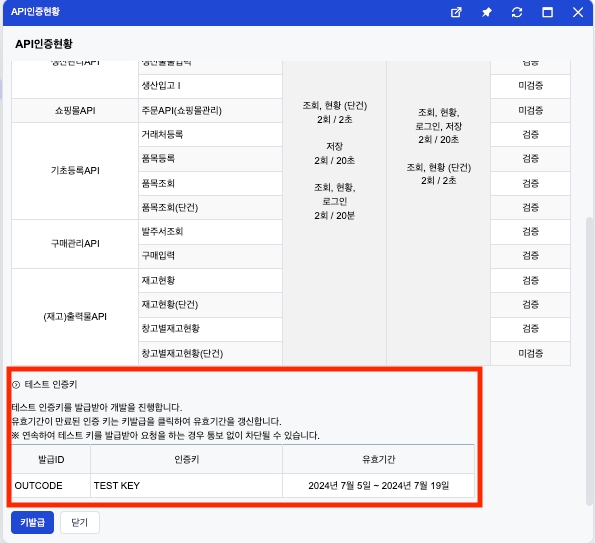
Proceed to issue a test authentication key. You can generate up to three test keys, and if you need more, you must contact ECount ERP customer support for additional issuance.
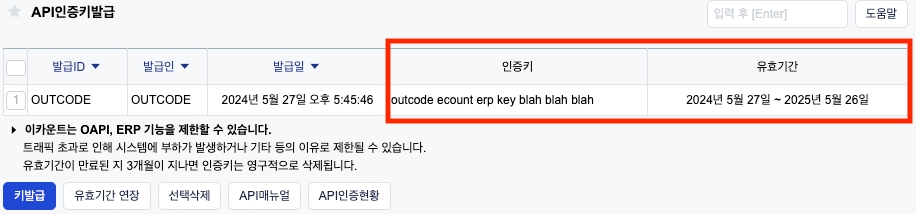
Once the authentication key is issued, you can find the Issued ID and Authentication Key at the bottom of the popup window. The test authentication key is valid for 2 weeks, and once expired, a new key must be issued.
When registering the app in Outcode, go to the Test Authentication Key tab, enter the Authentication Key, Issued ID, and Company Code, then click the Save button to validate and store the test key.
Test API Key: Enter the issued test API key.
User ID: Enter the user ID associated with the test key.
Company Code: Enter the unique company code from ECOUNT ERP.
Once all fields are filled in, click the Connect button to validate the authentication information.
After saving the test API key, make sure to execute at least one action in Automation to proceed.
6. Once an action is executed, it is actually registered in the ECOUNT ERP system, so please delete it if unnecessary. If the action is executed successfully, you can check the verification status per menu in the API Authentication Status section. Once verification is confirmed, you will be eligible to issue the production (actual use) API key.