Connection
Last updated
Was this helpful?
Last updated
Was this helpful?
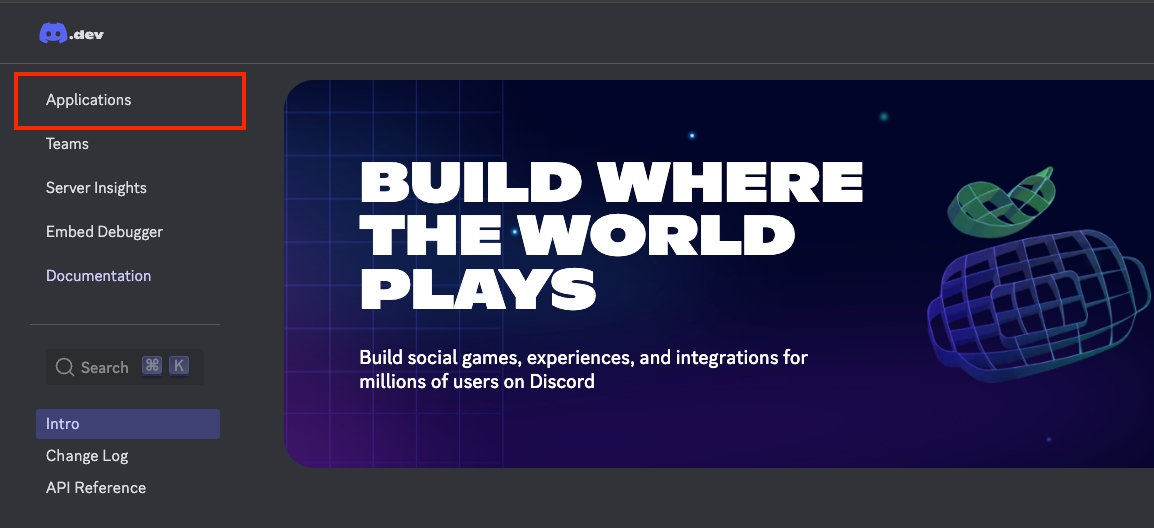
Log in to the Discord Developer Portal, then go to the Applications menu.
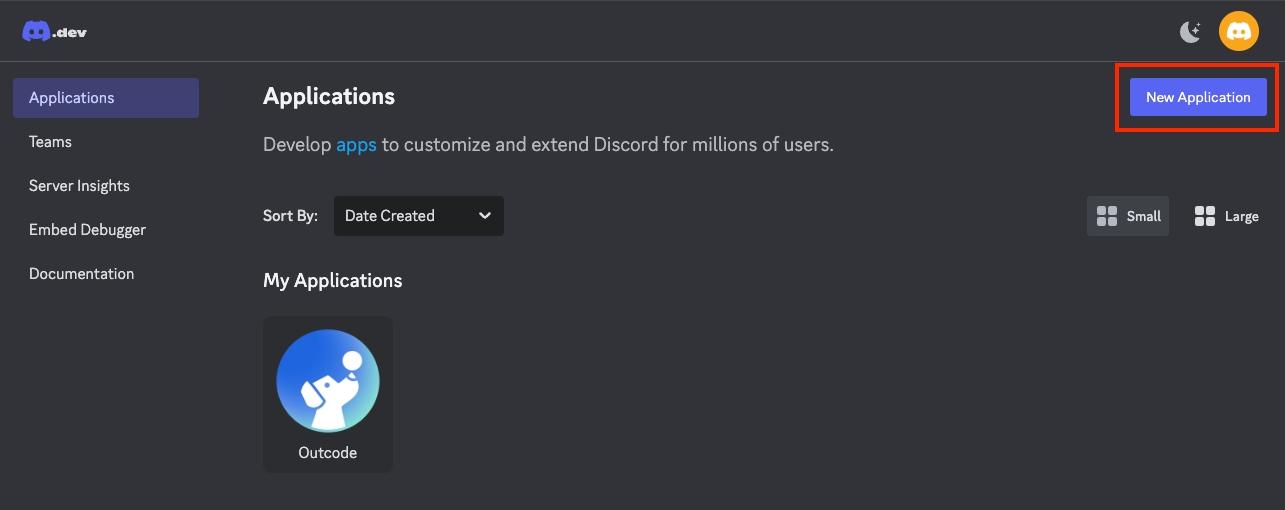
Click the New Application button to create a new app.
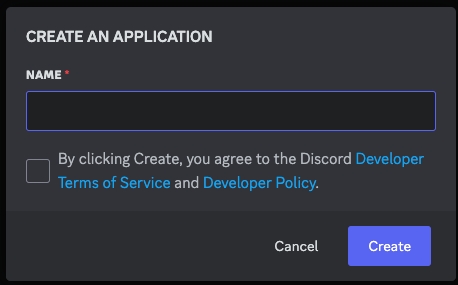
Enter a name for the app, then click the Create button to generate the app.
In the app details under General Information, enter the bot icon, name, and description, then click the Save Changes button at the bottom to save.
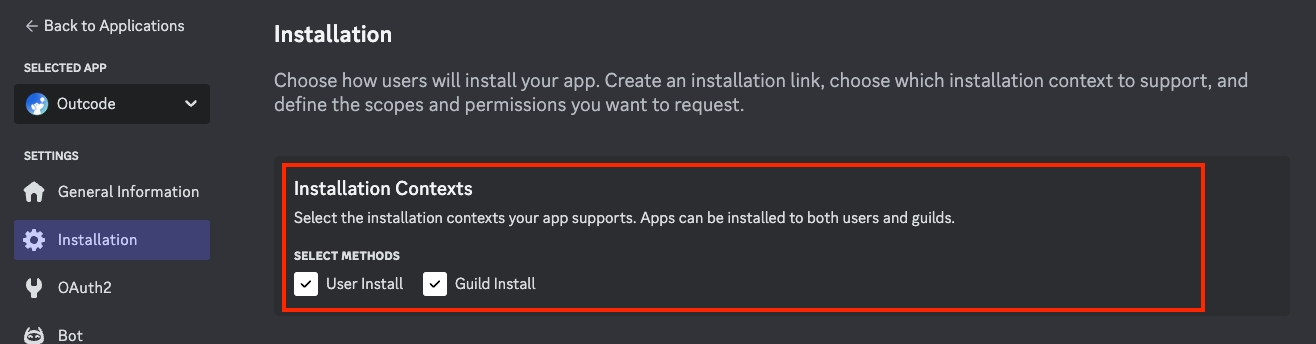
In the Installation menu, under Installation Context, check both User Install and Guild Install in the Select Methods section.
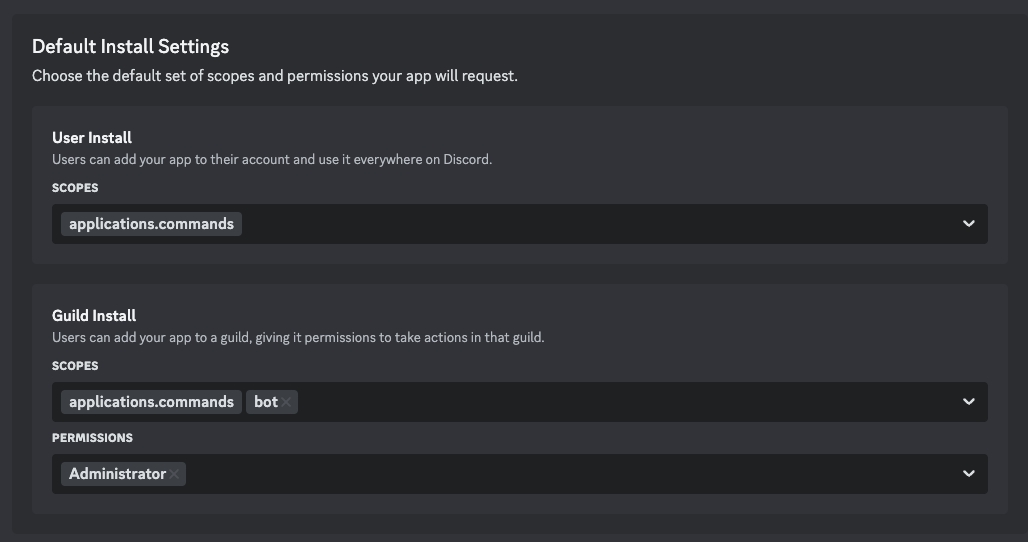
Next, in the Installation menu under Default Install Settings, set the Scope and Permissions for both User Install and Guild Install to match the settings shown in the screen below.
Go to the OAuth2 menu and add the following URL to the Redirects section, then click Save Changes:
Redirect URI: https://back.outcode.biz/v2/help/discord/token
In the Client Information section under the OAuth2 menu, save the Client ID and Client Secret separately.
The Client Secret will not be shown again after it is issued. If it is lost, you must click the Reset Secret button to generate a new one.
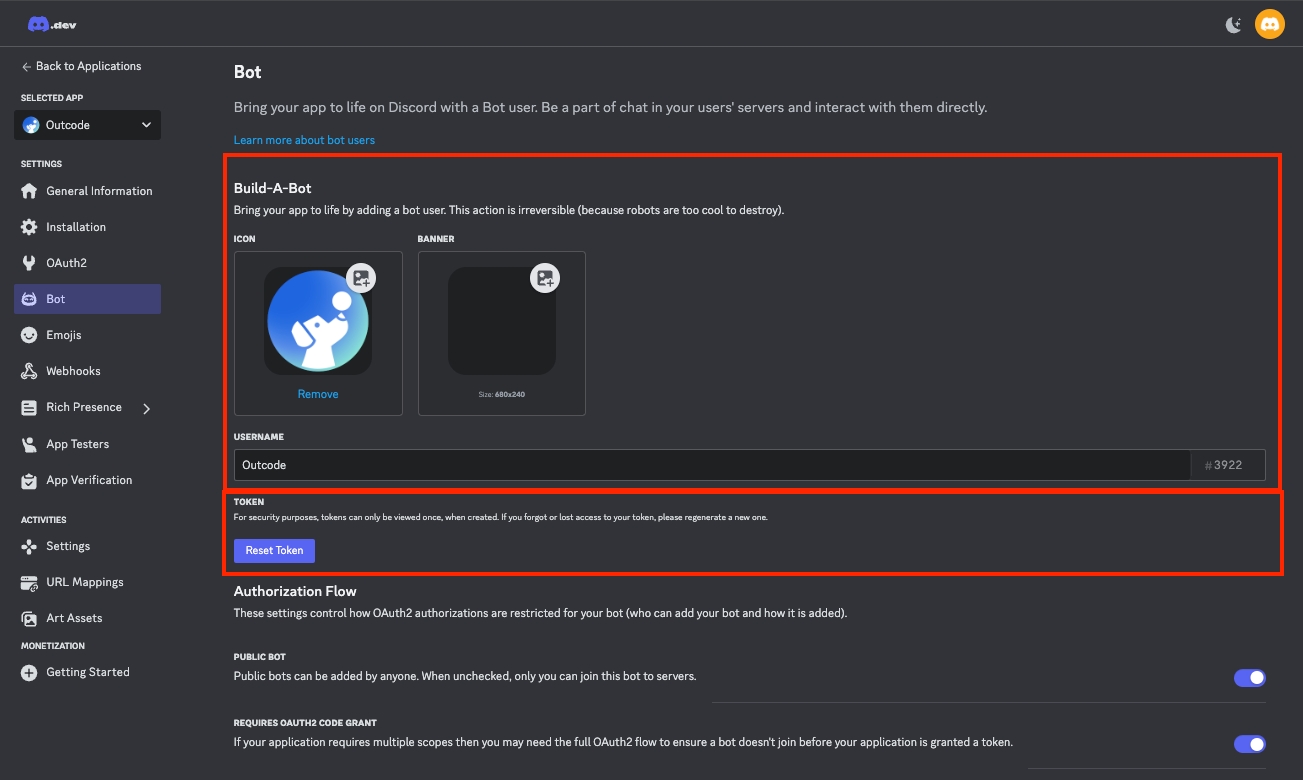
In the Bot settings of the app, enter the bot icon and username, then save the changes.
Generate the Bot Token and store it securely. If the token is lost, click the Reset Token button to reissue it.
Enable all settings for the bot and save the changes.
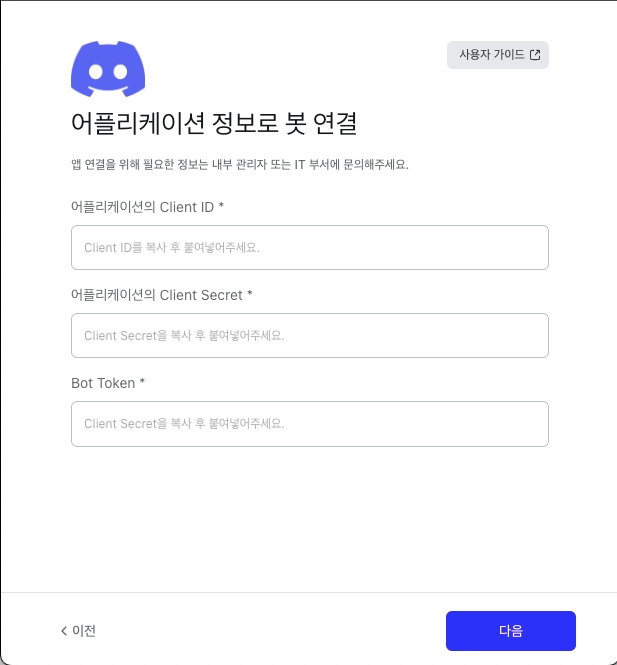
In the app settings, enter the saved Client ID, Client Secret, and Bot Token, then click the Connect button. The Client ID and Client Secret are used once during the initial connection to invite the bot to the desired server.
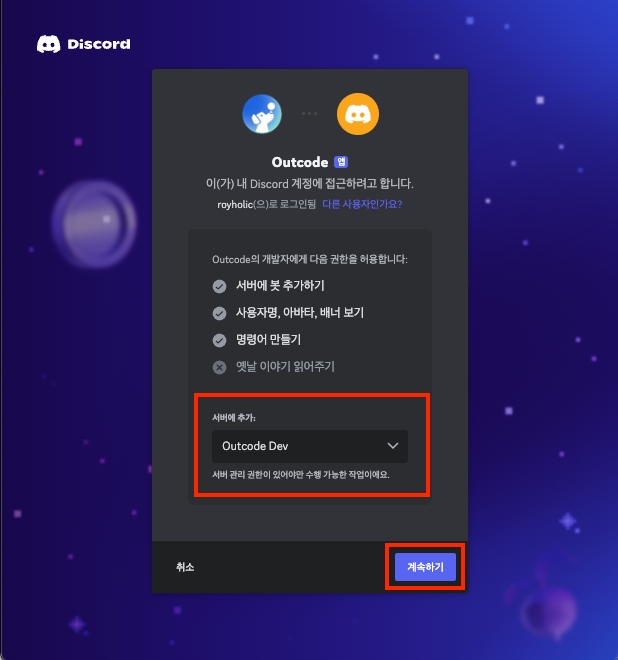
On the Discord authorization page, select the server where you want to add the bot, then click the Continue button.
Select the bot’s permissions, then click the Authorize button to add the bot to the server.
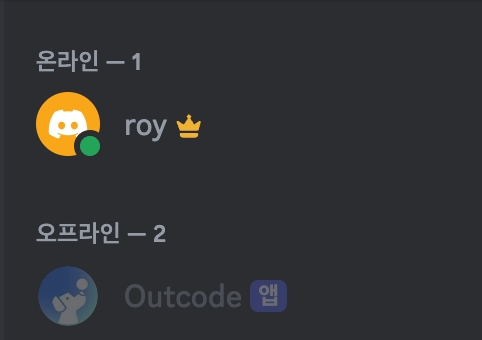
Once authorization is complete, you will be able to confirm that the bot has successfully joined the server.